


How to Create a Database in cPanel
At GlowFrog, this step is completed automatically when you install WordPress in 1 Click from your GlowFrog Dashboard.
Not a current GlowFrog customer? Sign up for one of our Managed WordPress plans and enjoy a free, fast migration within 24 hours.
Option #1 – Create a Database Using MySQL Database Wizard
Creating Databases in cPanel is easy:
2. Once logged in click on the ‘MySQL Database Wizard‘ icon
![]()
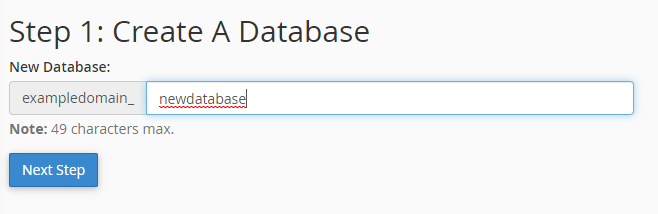
3. Enter a name for your new Database. (Note: The Database Name is automatically appended by cPanel username. Example: “exampledomain_newdatabase”) then click on the ‘Next Step‘ button.
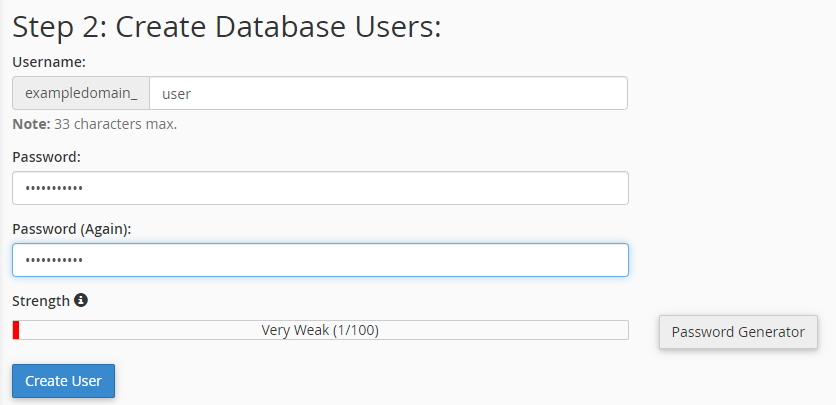
4. Enter a Database Username and Password for your New Database User. (Note: The Database Username is automatically appended by the cPanel username. Example: “exampledomain_user”) Then click ‘Create User‘.
5. Select the tick box for ‘All Privileges’ then click ‘Next Step‘.

6. Confirmation Message. If there were no issues you should receive a confirmation message that the database and database user was created and the privileges were assigned successfully.

That’s it! You’ve successfully created your Database, Database User and assigned admin privileges to the Database user!
Option #2 – Create Database & Database User Separately
1. Log into cPanel
2. Click on the ‘MySQL Databases‘ icon.
![]()
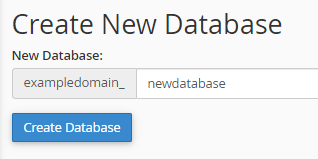
3. Enter a name for your New Database then click ‘Create Database‘
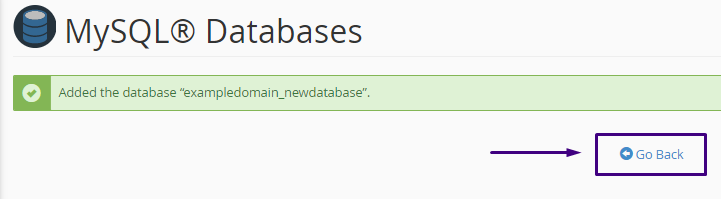
4. You should be redirected to a confirmation message. Confirm the creation of your new database then click the blue ‘Go Back‘ link to return to the Database Creation Screen.
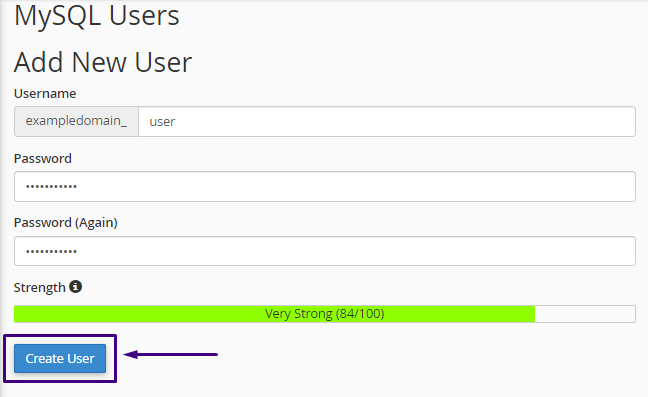
5. Scroll down to the MySQL Users section. Enter a Username and Password for your New Database User then click ‘Create User‘.
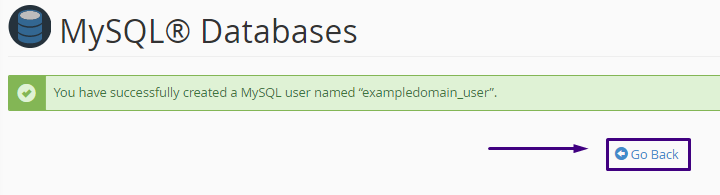
6. Confirm the Creation of Your New Database User then click ‘Go Back‘.
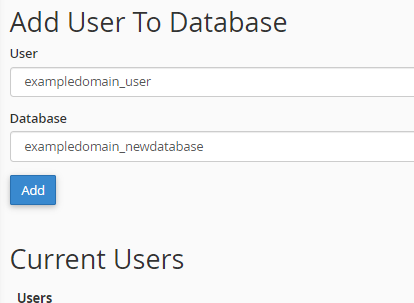
7. Scroll Down to the Add User to Database Section. From the first drop down, select your new database user. From the second drop down select your new database. Click ‘Add‘.
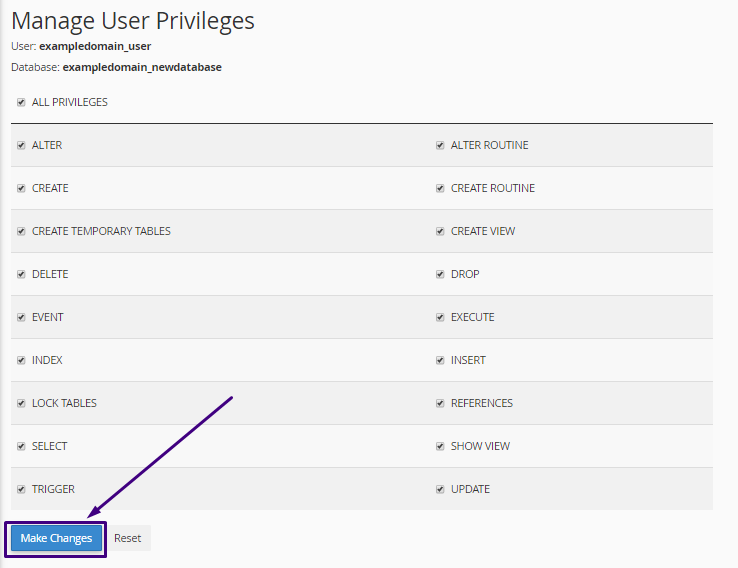
8. Select the tick box for ‘All Privileges‘ then click ‘Make Changes‘.
9. Confirmation Message.

That’s it! If your changes were successful you should see a green success message in the top right-hand corner of cPanel.
")
Leave a Reply